(Image source from: wallpaper.labzada.com)
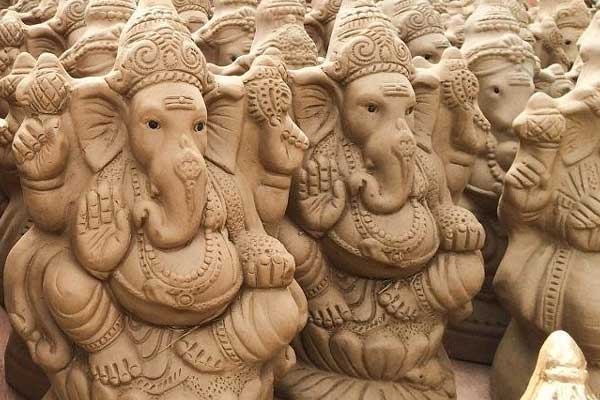
Ganesh Chaturthi, one of the major festivals is celebrated by Indians across the world. Along with keeping the spirit of this beautiful intact, one likewise needs to spare a thought for nature.
Immersing plaster of Paris (PoP) idols of Lord Ganesha, dumping puja waste matter in the nearby lakes etc. are all ways to spoil nature's ecosystem.
As a step towards restoring our environment, here we are presenting the demonstration of traditional clay Ganesha.
Time required - 60 to 90 minutes.
Requirements:
* Clay
* Toothpick
* Acrylic paint
Procedure
Step 1: Divide your clay to form different body parts of Ganesha 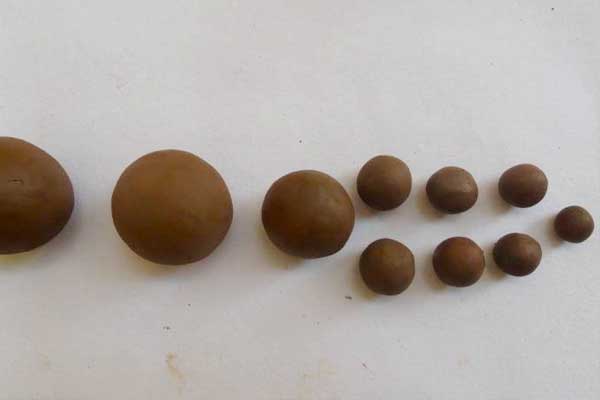 Source: BuzzingBubs
Step 2: Making of base and stomach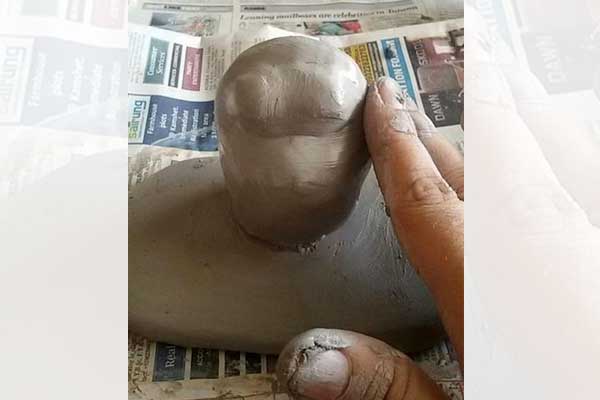 Source: artandcraftideas.com
- Flatten the base pedestal clay (similar to the way you would flatten roti dough), in such a way that it has space to hold stomach and legs.
- Insert a small piece of toothpick into one end of the base and fix the stomach onto that. This manner these parts will stay jointly even after drying.
- Use water when needed to brush at places that are dry.
- Roll out the leg portions as shown in the picture.
Step 3: Making of legs Source: BuzzingBubs
To form the shape of the leg, press on top and bottom, and bend.
Step 4: Making of hands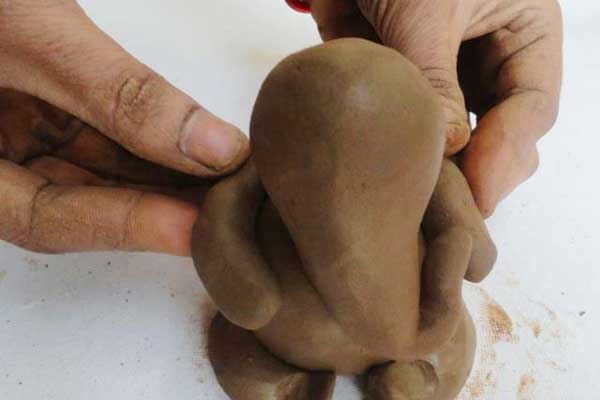 Source: BuzzingBubs
- Fix the legs to the stomach and base pedestal, strengthen it with toothpicks.
- Now, press the joints of leg and stomach at the back, so that they turn into one and joints are unseeable.
- Roll out the hands in the same manner as legs and bend them to form the shape of hands.
Step 5: Fixing hands to the body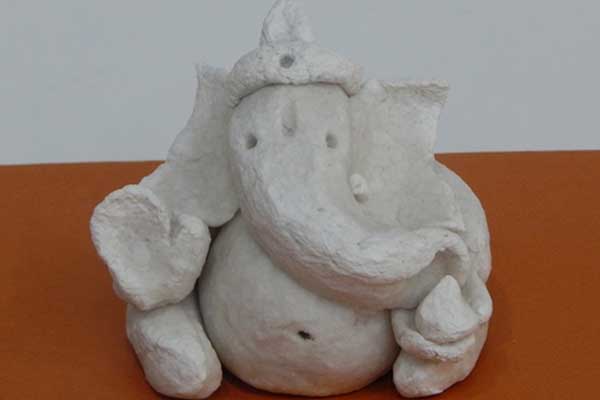 Source: hobbyideas.in
Fix the hands and mildly press them to join it with the stomach.
Step 6: Fix head to the body Source: Arena Animation Malleswaram
Step 7: Fixing ears and trunk 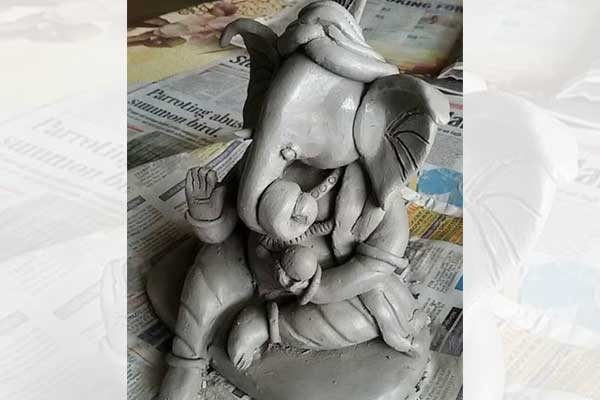 Source: Yuva Awaaz
- Fix the ears
- Roll out the trunk (similar to legs and hands). Now, bend it and fix it to the head.
Step 8: Reaching basic form 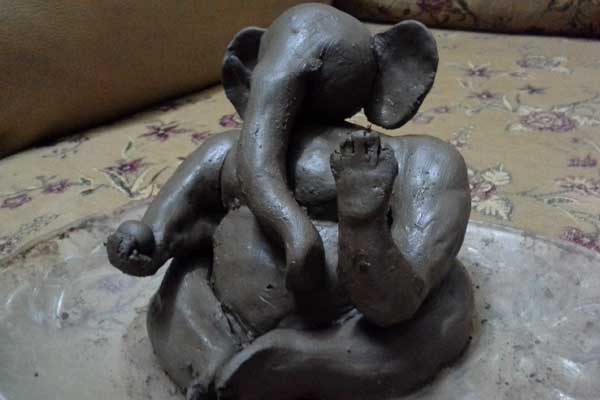 Source: These Fleeting Days - WordPress.com
- Mildly press the ears and flatten them.
- Make tusk, eyes and 3 tiers of the head crown.
Step 9: Ornamentation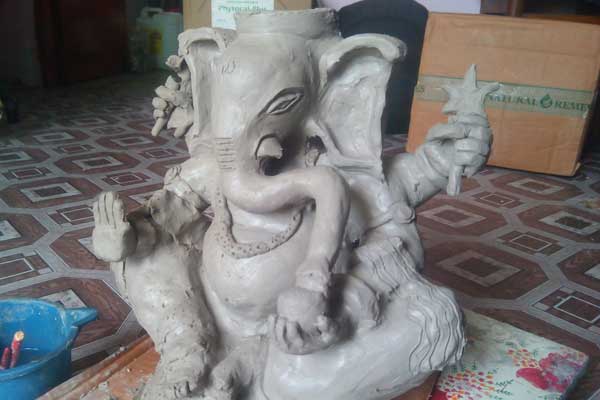 Source: YouTube
- To make the back crown, first, roll and press the clay like roti dough (about 6cm in diameter).
- Then use a bottle/mason jar lid, pen refill, a pen cap to do the ornamentation.
- Let it dry a bit and gently fix it to the body by using more wet clay.
Step 10: Let it dry and paint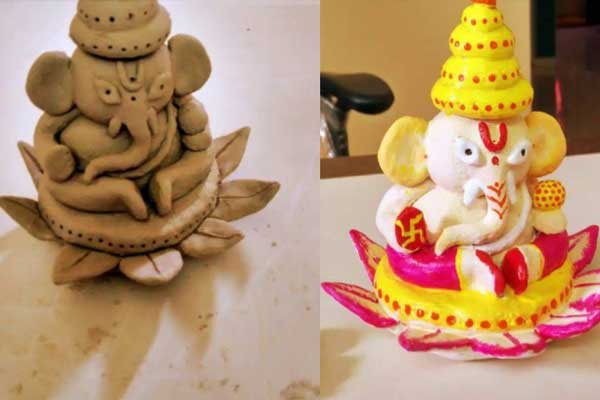 Source: YouTube
- Leave it to dry for a couple of days and paint them.
- To make the elevated pedestal, I have used a square thermocol piece (3" L x 3"B x 1"H) and wrapped it with 1" blue satin ribbon.
By Sowmya Sangam